Google Business Profile is one of the most powerful tools you can use to promote a business that provides products and services to a specific geographic area. You’ll want to create a Google Business Profile for your business if you provide services to others in your area. Some examples of businesses that would want to set up a business profile would be attorneys, mechanics, web designers, flower shops, churches, tax professionals, and more. Even if you work from home and don’t want your address to be known to the public, Google Business Profile allows you to hide your address and provide “service areas” so it’s a great fit for nearly every business. Let’s learn how to make the most of this powerful local business marketing tool.
What is Google Business Profile and Why Should You Care?
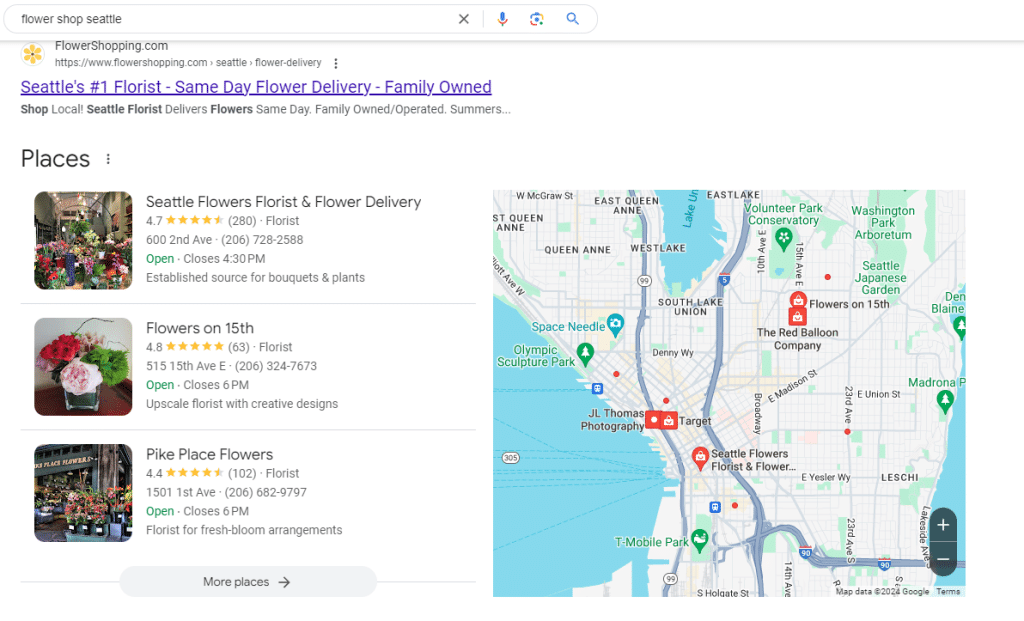
Google Business Profile (Formerly known as Google My Business) is a “profile” on Google. It shows up when a user is looking for a product or service, and a business with a profile would be a relevant result. for example, “Flower Shop Seattle” returns something like this on a desktop:
and this on a smartphone (searching for mechanic):
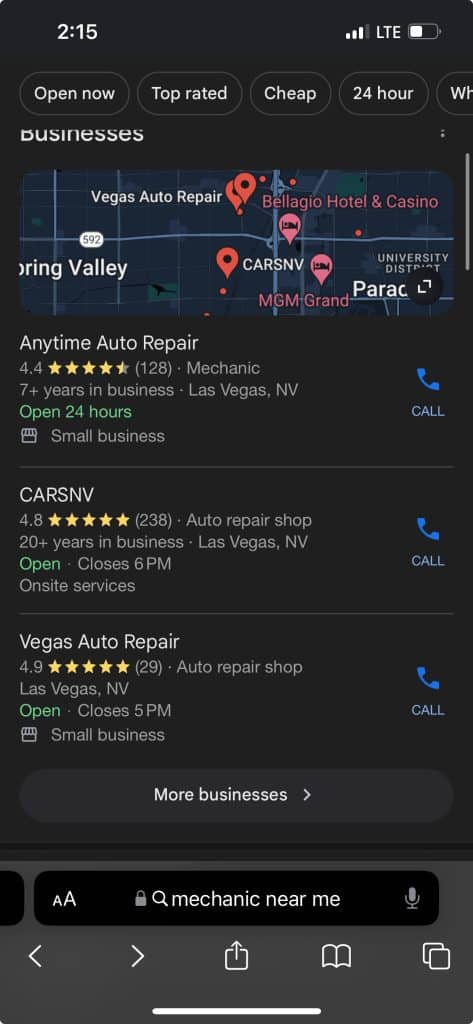
Convenience: You should care because this is an opportunity for you to show up to your potential customers who are searching for your services. You’ll also notice customers can call you right from the search results, or “get directions” when relevant. It makes it convenient for people to get in touch with your business.
Top of the Search Results: If your business is doing well on Google Business Profile (AKA Google My Business), then your business will show up right at the top of the results in what’s called the “Map Pack”.
Tracking & Monitoring: Google tracks and monitors how often people are interacting with your business on the profile and shares that information with you, so you’ll understand how much money Google Business Profile is bringing you.
How to Set up Google Business Profile:
In this article we’re going to show you how to create your own Google My Business / Google Business Profile account.
Information to have ready:
There’s a lot of information to fill out, so be prepared by having the following details about your business in the list below. Filling out the details is pretty repetitive and self-explanatory. Once you get the hang of it, you can just use the list below as a checklist for all the Google Business Profile information to input for your business. You won’t be able to add all of this information in the quick start wizard.
- Business name
- Business “categories”
- Whether customers visit your location or not
- Full business address (which you can hide)
- Areas you serve
- Business phone number
- Website URL
- Calendar booking link
- List of services provided: Ex. Web design, SEO, mobile apps, etc.
- Facebook page URL
- LinkedIn URL
- X/Twitter URL
- Instagram handle
- Pinterest URL
- YouTube URL
- TikTok handle
- Business hours (asks for hours of each day of the week)
- Holiday hours
- Business formation / opening date
- Whether to enable messaging
- Business description (750 characters max)
Payment methods accepted(It appears this has been removed.)- Any user emails that should be added to manage the profile
- Photos to display on the profile
- Logo
- Info on whether the business is any type of minority owned. Black, Asian, Woman, etc.
- Service Options:
- Whether an appointment is required or not
- Online appointments available?
- Online estimates available?
- Languages Spoken
- Whether you’re LGBTQ+ friendly or not (Yeah.. I was surprised too.)
- Types of hours, ex. Drive through hours, breakfast hours, senior hours, Takeout hours, etc.
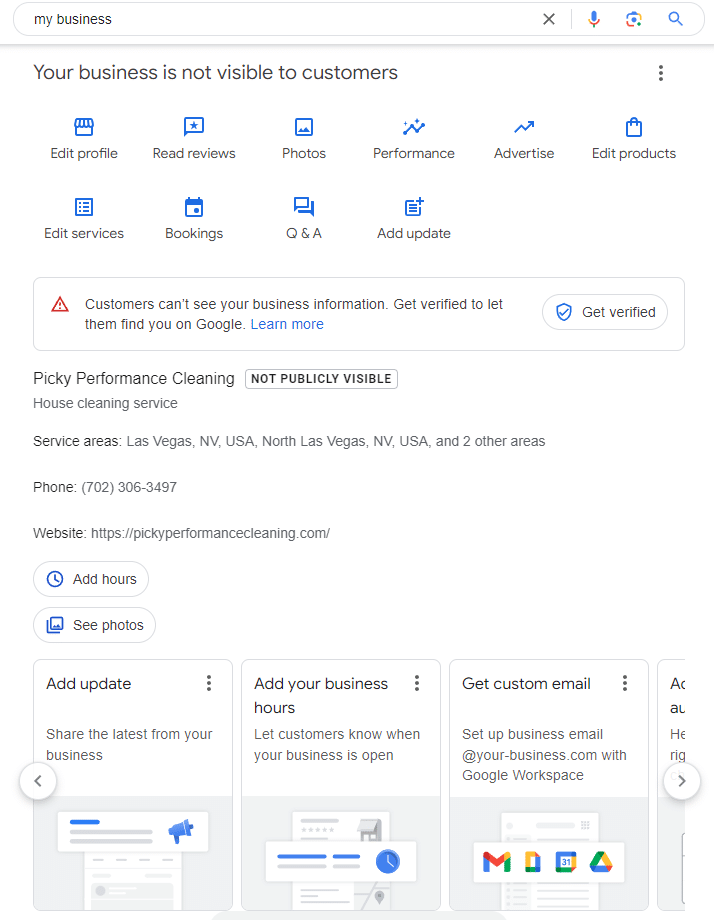
Side Note: If you ever leave the signup process before completing it, and try to come back, Google My Business will likely save the information so you can pick up where you left off, but it will look different as seen below:
Visit “Google Business Profile”. Type in “Google Business Profile” in a search engine, and click on the most relevant looking result. it should take you to a page that looks something like this:
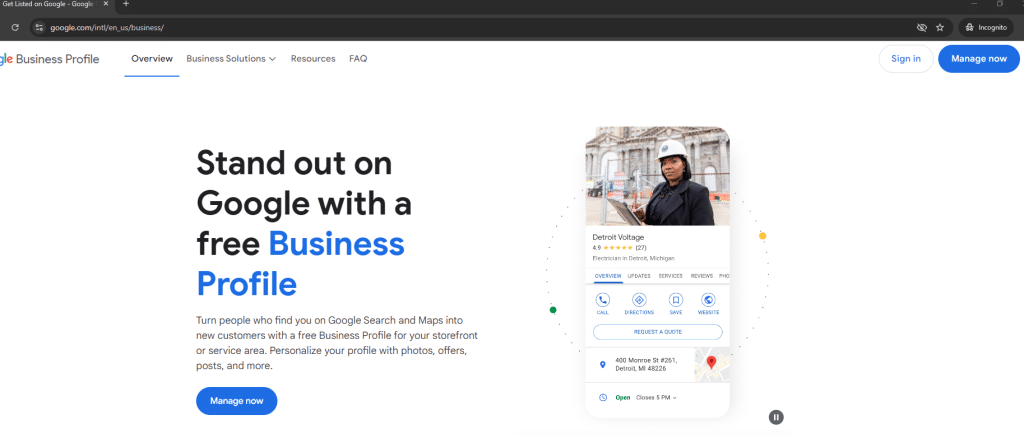
Click “manage now” and sign in.
You should reach a page that asks you for some business information like your “business name”.
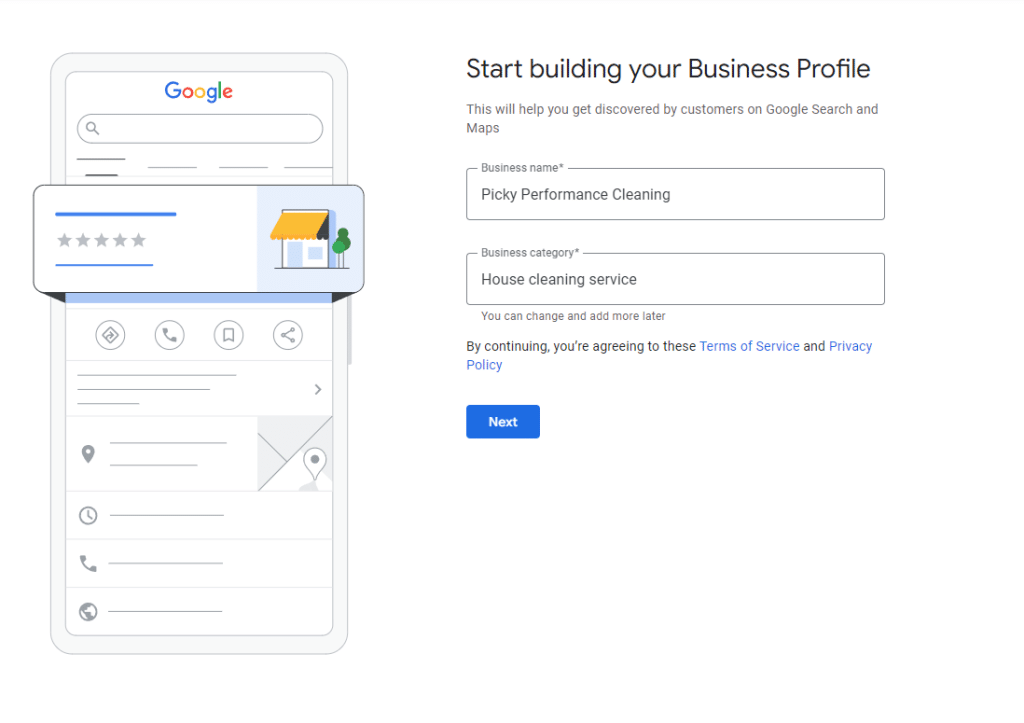
From here, you can enter all of the information requested.
If you already have a business, you may end up seeing a different page where you can manage the existing locations on your profile:
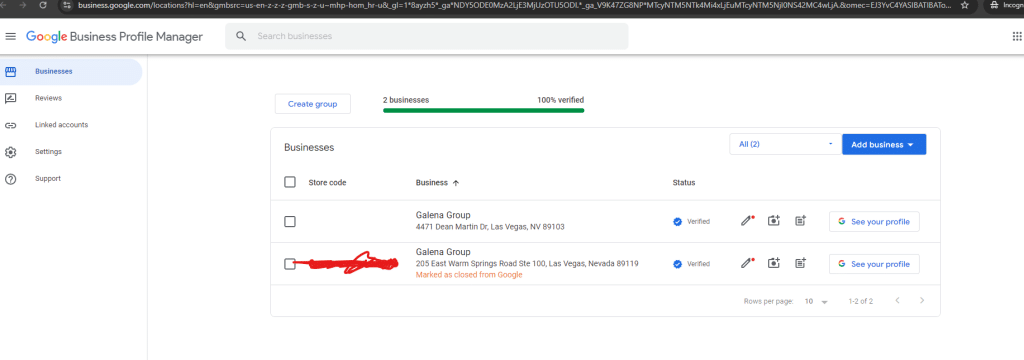
If you get this page, you can click “Add Business”, then “Add single business” and it should take you to the same page requesting your business information.
If you’re running an agency you’ll want to create a “group” for the Google Business Profile to live in, and then create the profile within that group. I’ve been making a “group” for each client.
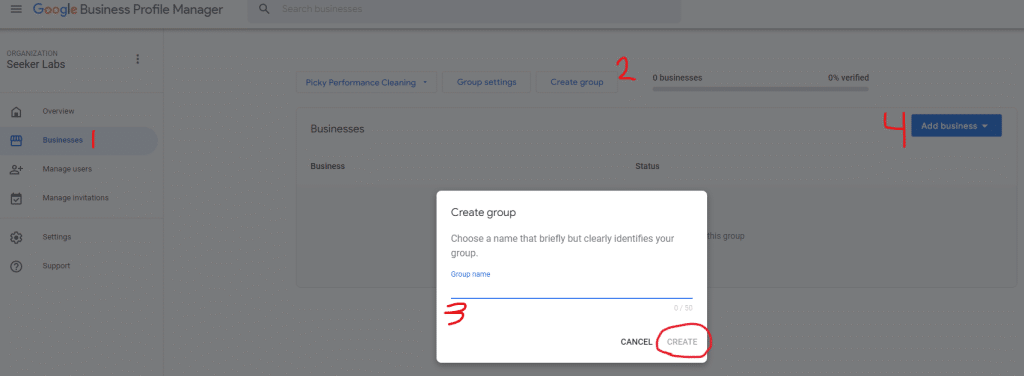
You can see the order of elements to click and fill out in the screenshot above. After creating the group and clicking “Add business”, then “Add single business” you should be at the page to start filling out the Google My Business information.
You’ll be asked a lot of questions, mostly with common sense answers. Fill them out to accurately describe your business:
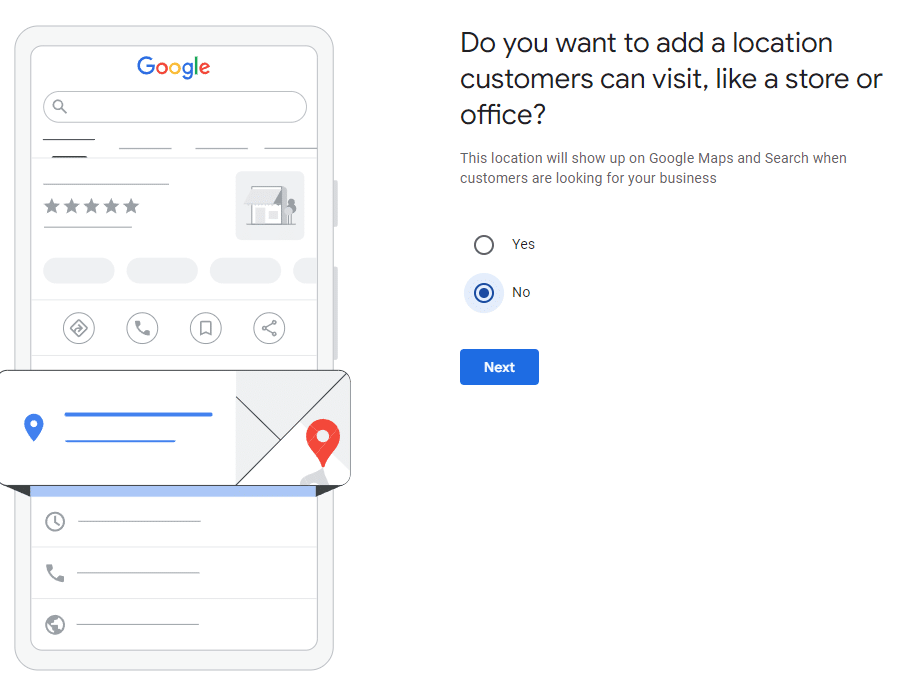
Do you want to add a location? Yes will add a visible address, and “no” will hide your address, but still show your business for searches in the area it serves. You’ll typically want to select “no” for home businesses, unless you want clients showing up to your home.
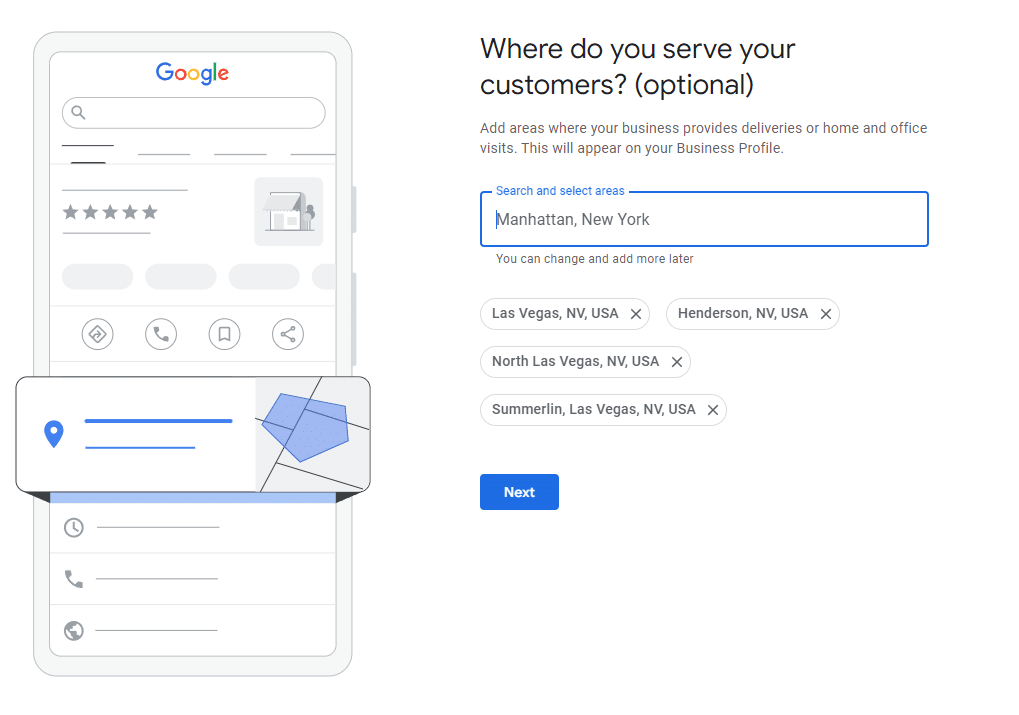
Where do you serve your customers? This allows you to select areas you serve.
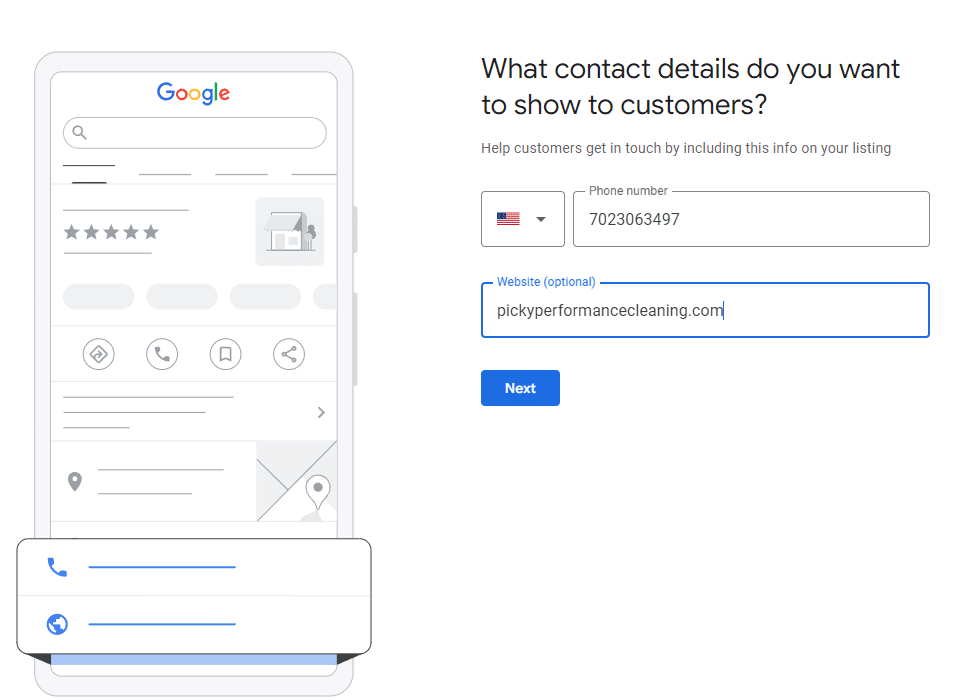
Google My Business will also ask for contact details:
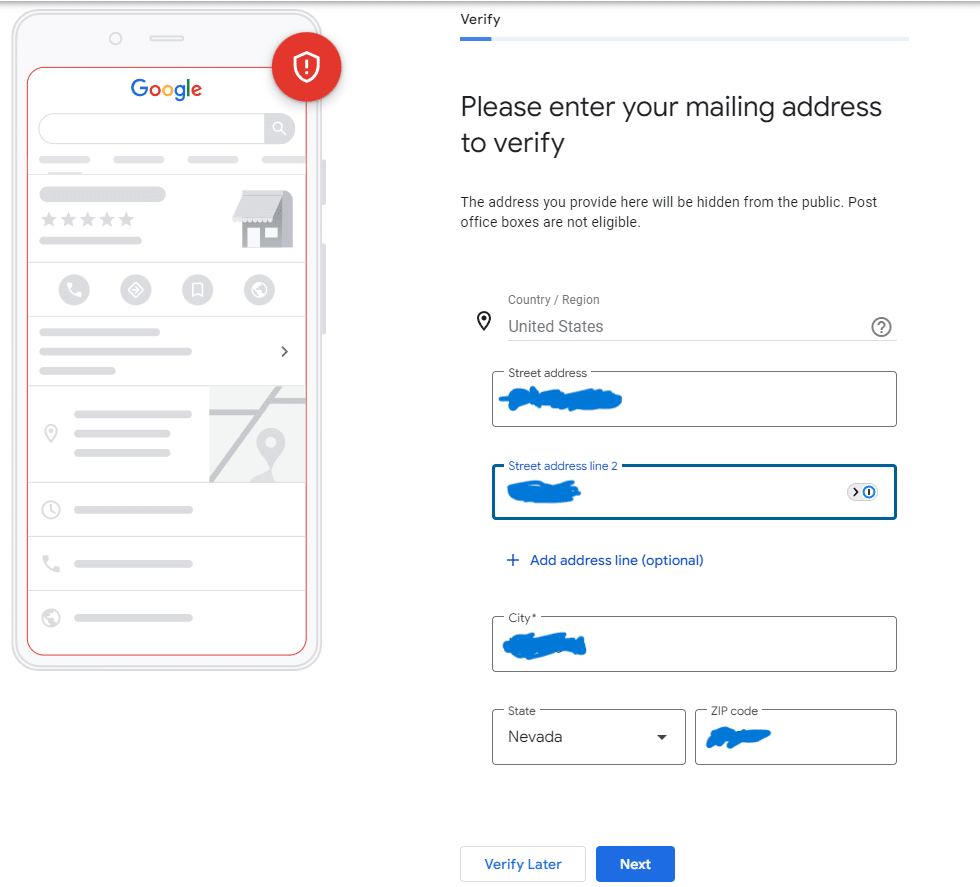
From here, you’ll probably be asked to “verify” the account. There’s multiple ways to verify the Google My Business / Google Business Profile. That said, you will need an address to verify. The option you set earlier was whether the address was visible to customers or not. You can also “verify later”.
If you’re verifying now, it will ask you for a method:
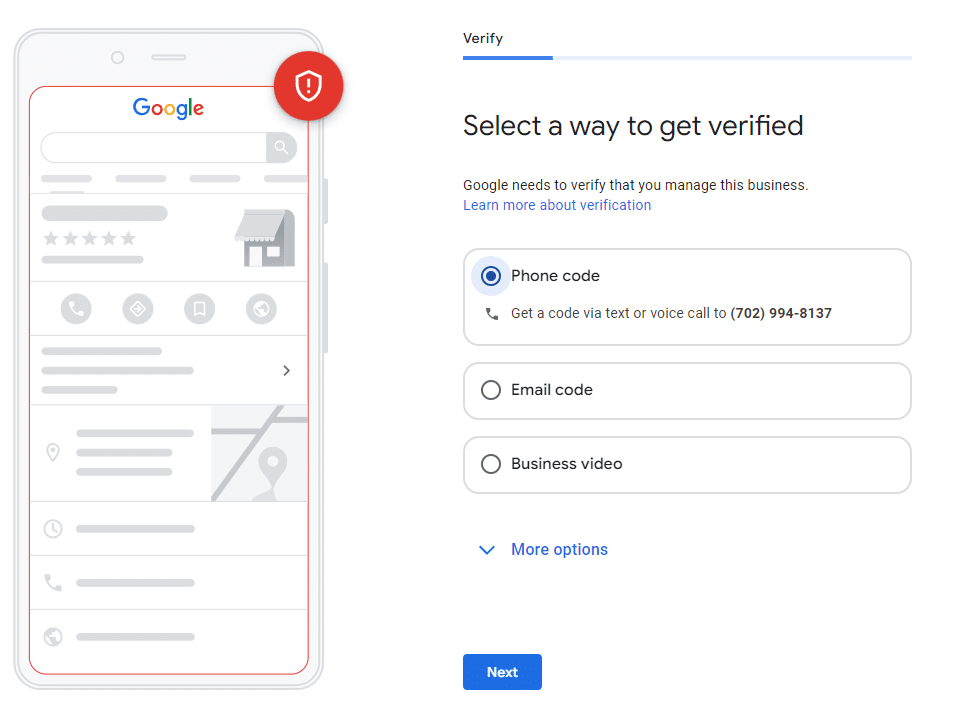
The options and steps are pretty self explanatory. We’ll use “phone”. If none of those work you can check out “more options”.
Since we chose “phone”, Google My Business wants to know whether they should call or text.
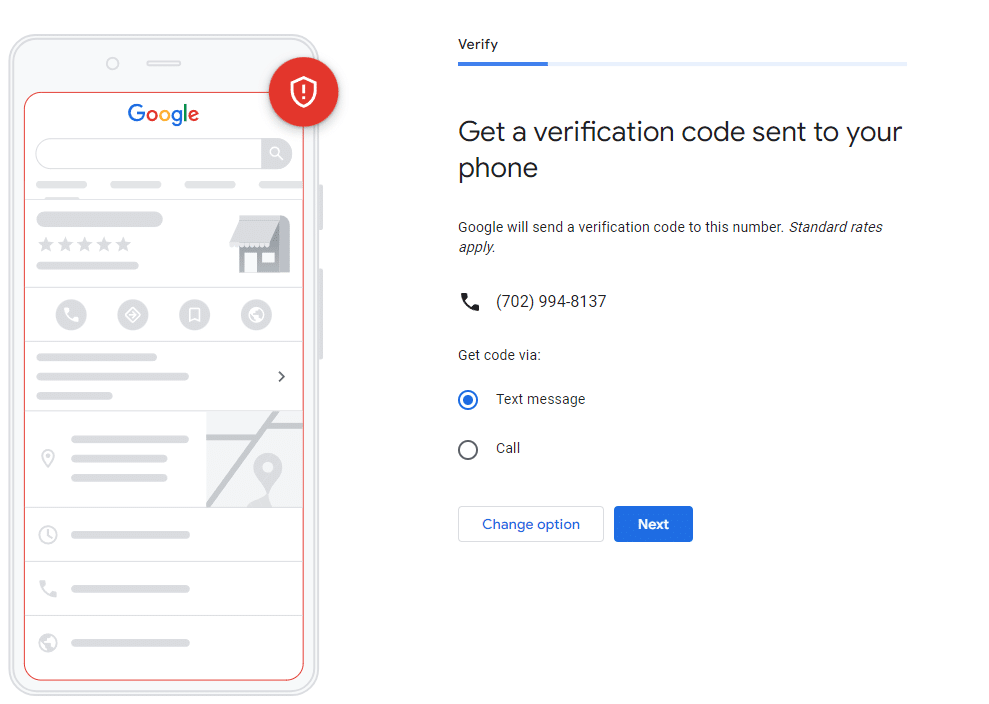
Then they’ll give you the code, which you can input here:
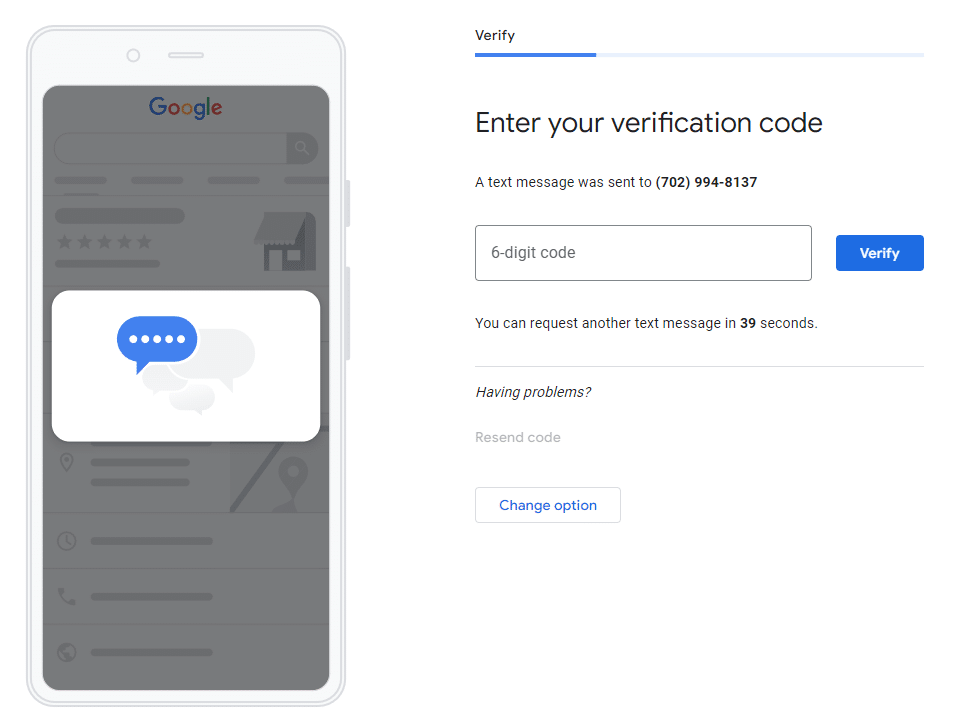
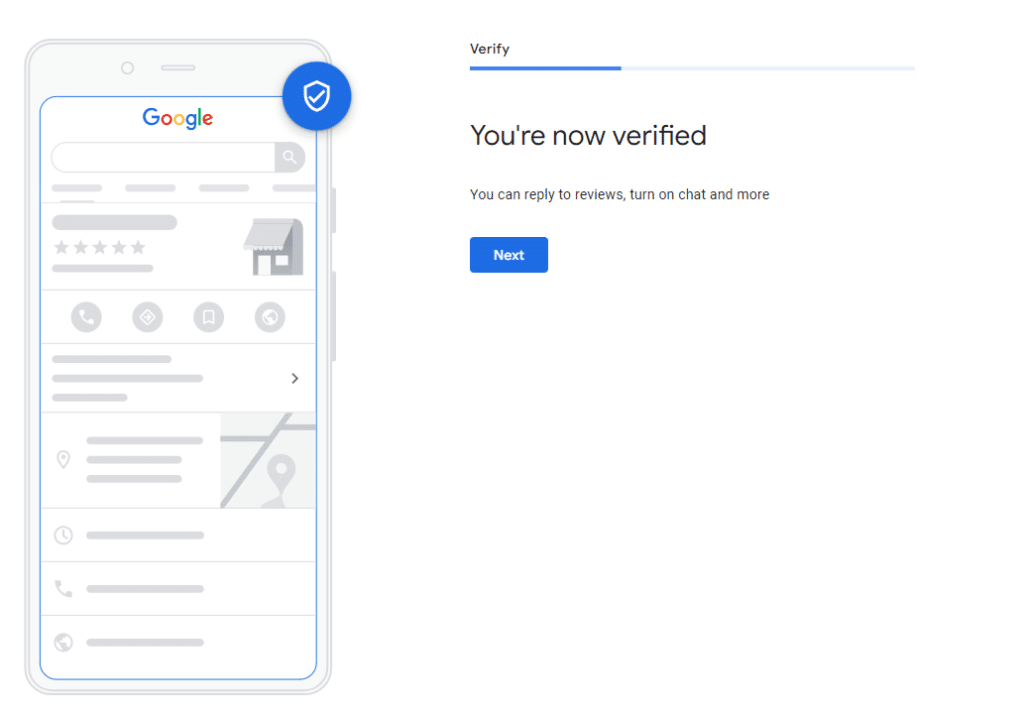
And that’s it! You’re Google Business Profile is verified.
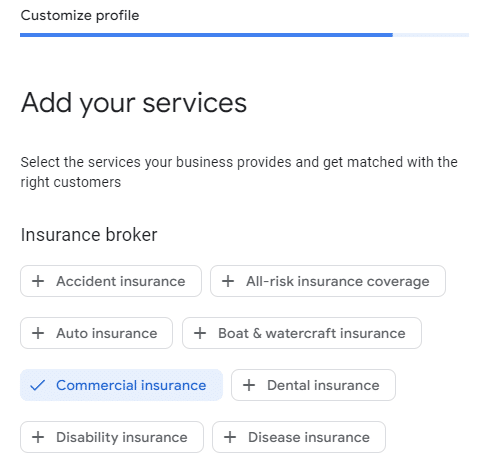
If it’s asked you your category already, you may be given recommended services to add. In this example we chose “insurance broker”, so it gave us a bunch of insurance types to select. It also invites you to add a “custom” service, which provides an input field. This wasn’t shown in the screenshot due to not fitting on the screen.
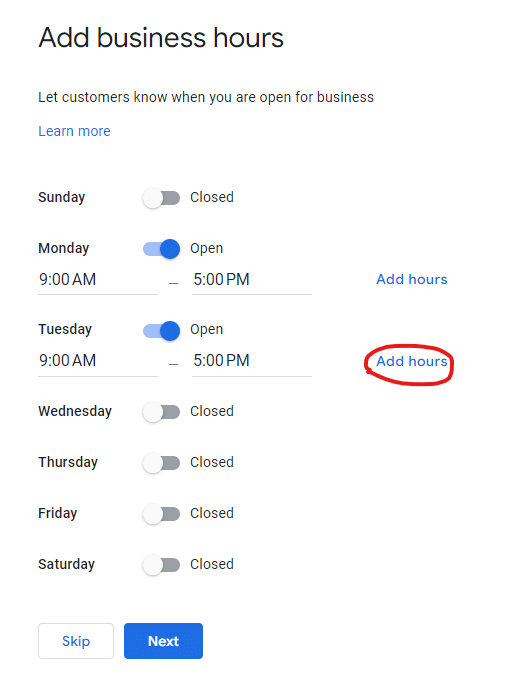
After adding the services to your Google Profile, you’ll be asked about the business hours. You can even set a “closed during lunch” type of arrangement by adding multiple chunks of hours on the same day.
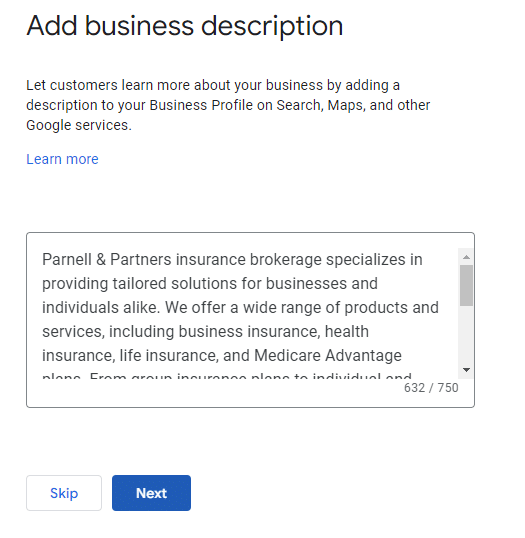
Next up is the business description with a character limit of 750 characters:
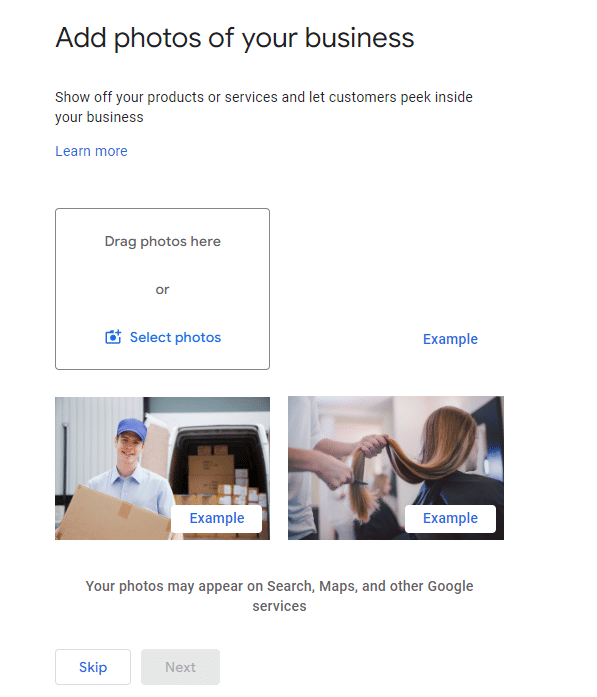
After that, you’ll be asked for photos of your business, products & services, Excluding your logo.
Once that’s done and your business verification finishes processing, your Google Business Profile should be live! You’ll notice not all information was even requested in the getting started wizard. To truly complete your profile you’ll have to edit your existing profile.
Editing an Existing Google Business Profile
To complete the Google My Business profile, or to make a change to an existing profile, you can type in “my business” or “Google Business profile” into the Google search engine. From there you’ll see the settings where you can make your changes:

Google Business Profile Logo & Cover Photo
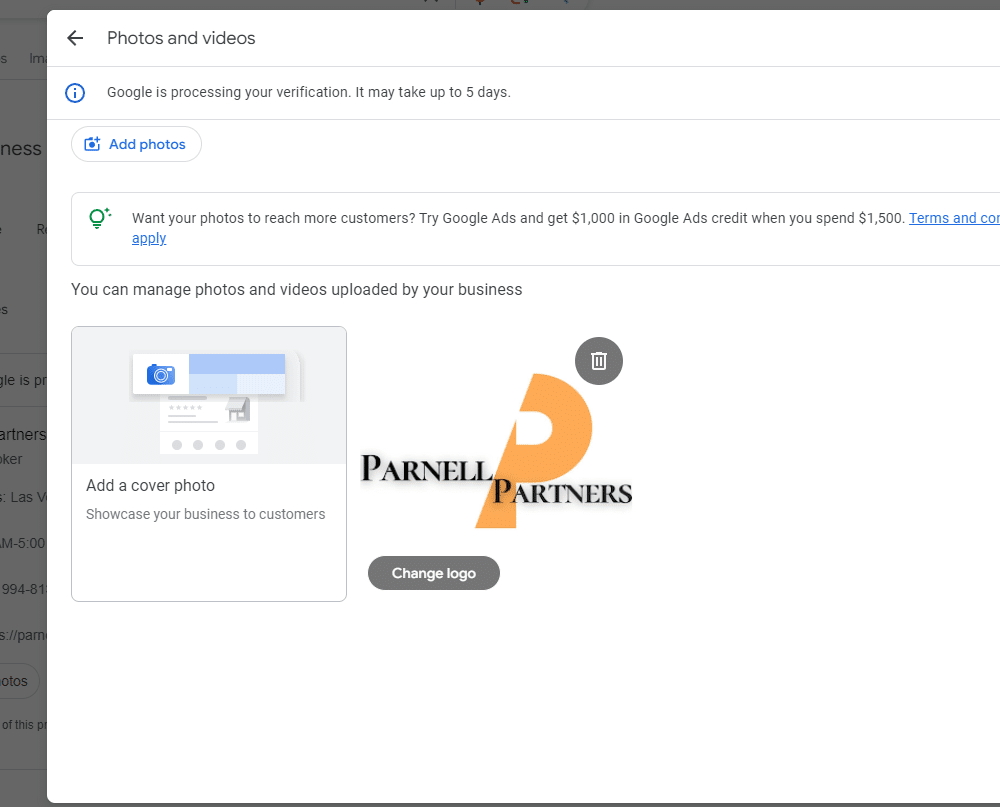
I want to add my logo, so I’ll click “photos”, and add the logo by following the directions given to me.
The logo for Google My Business needs to be square, and a minimum of 250×250, or be prepared to crop the logo.
The cover photo also has a minimum of 250×250, but the optimal size appears to be 1024×576
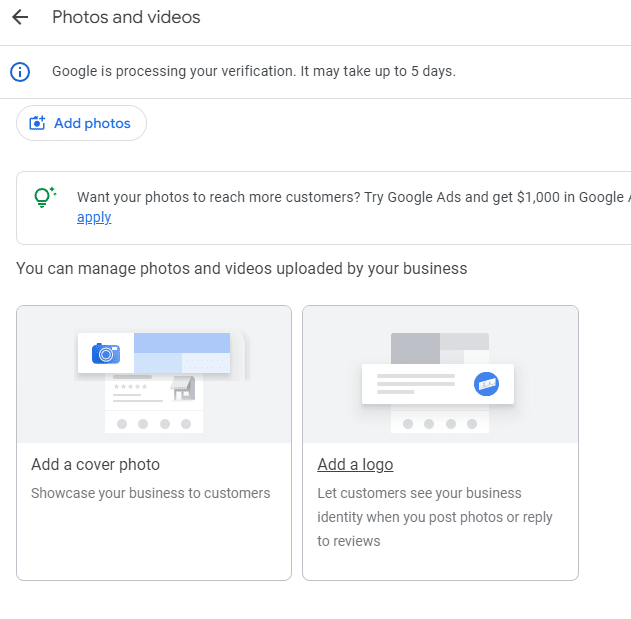
After completing the directions, it should have the logo in place of the “Add a logo”, and a cover photo–if you added one– like this:
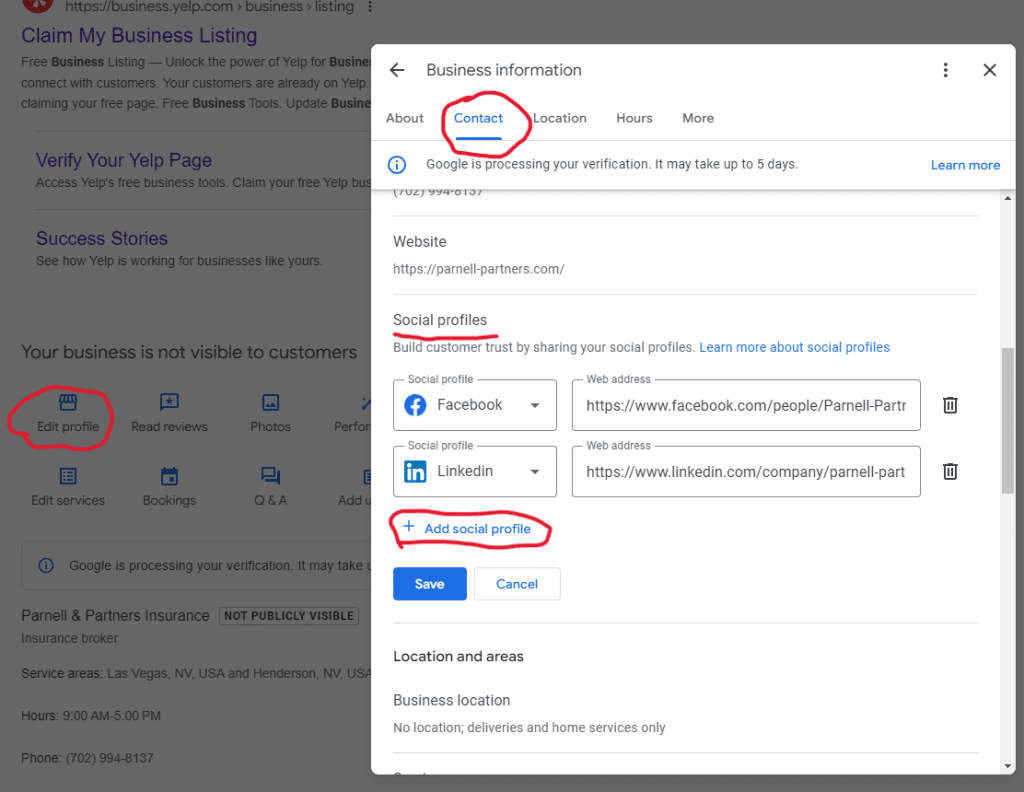
Adding Social Media to Google My Business
You should also add any social media profiles you have to your Google Business Profile.
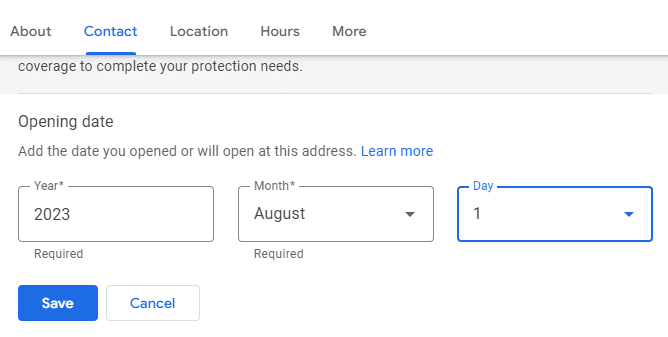
Also in the “Edit Profile” section is the opening date:
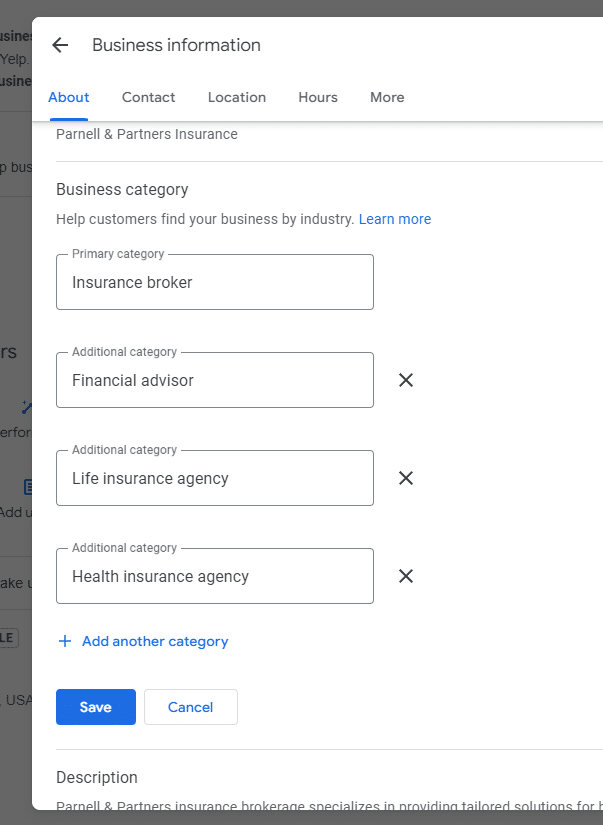
In the edit section you can add more business categories if you provide multiple types of services:
Also in the “edit profile” section of Google My Business, add your “special hours” for days like New years, Christmas, etc. Unfortunately, as of writing this, you’ll have to input the holiday hours for every year.
You can also add different types of hours, if applicable, such as “breakfast hours”, “drive through hours”, etc.
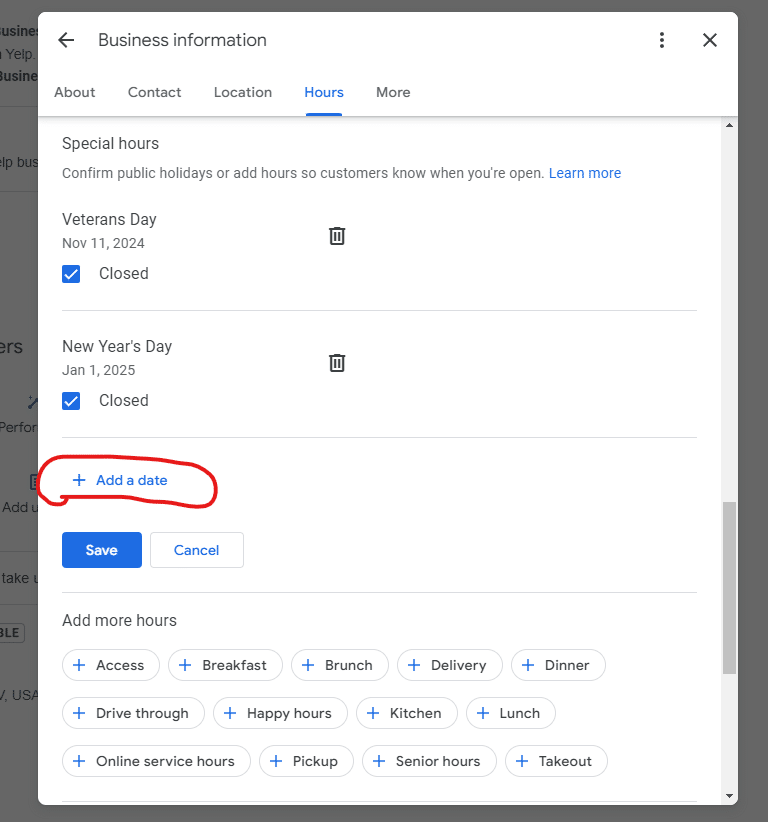
Further down in the “more” section are a few more options, such as minority ownership settings:
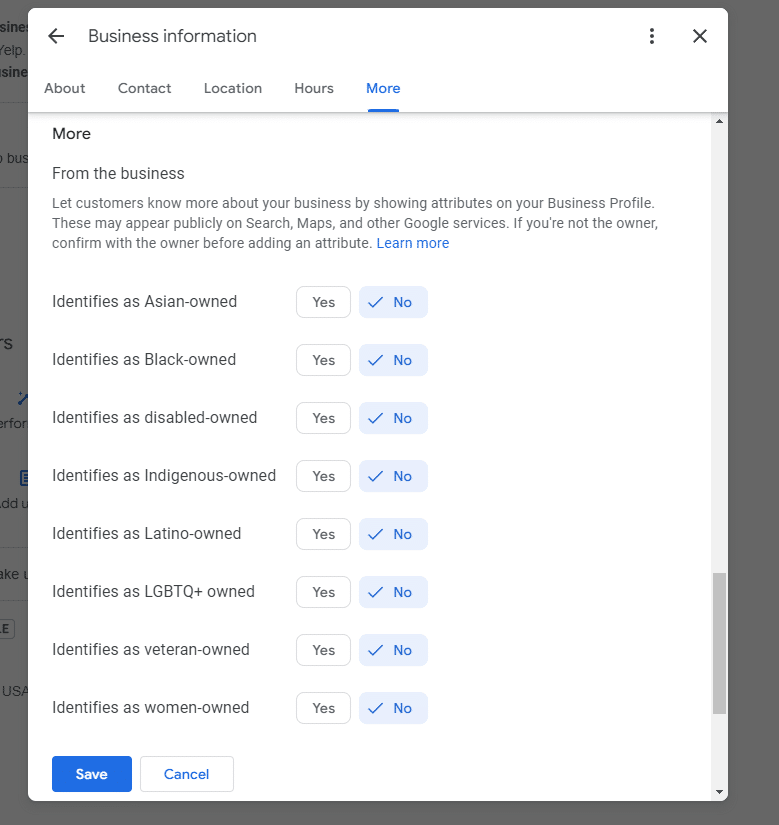
Also in the “more” settings of Google My Business is whether you’re LGBTQ+ friendly or not.

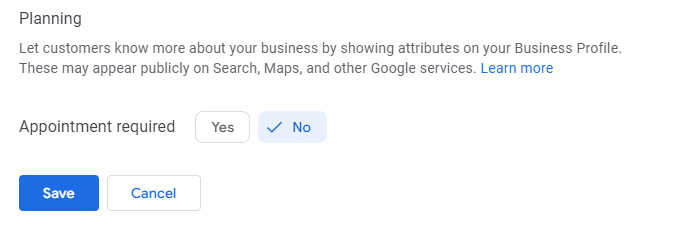
I usually set the “Appointment Required” setting to “no”, unless there’s a strong reason to put yes. People might not want to even call or stop in to inquire about your services if appointment required is set to yes. Even if you just end up scheduling an appointment with a walk in, that’s better than them not showing up at all. Do what you think is best, and adjust if necessary.
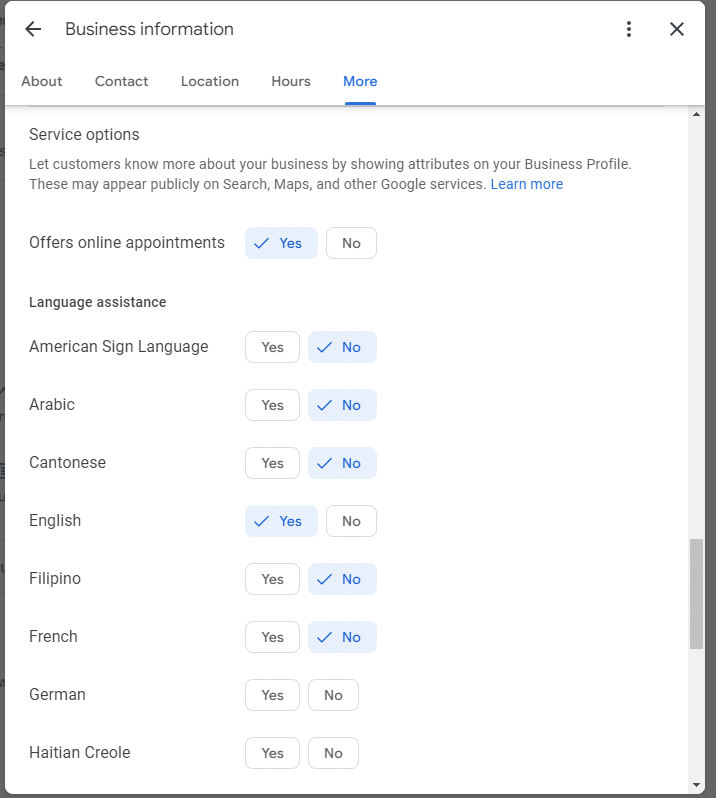
Also in the “more” section is whether you do online appointments, and which languages are spoken:
Back on the main page, or by typing in “Google Business Profile” on the search engine, you should see “bookings” as a selectable option:

Click “bookings” and you’ll be able to add your calendar link:
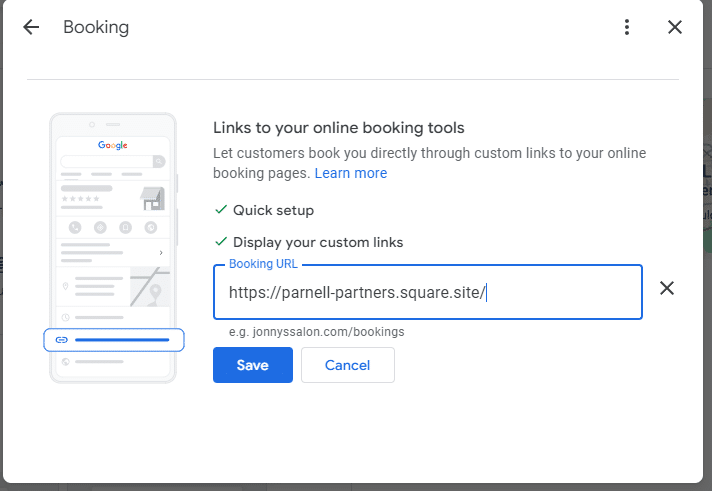
You can add more than one link for multiple ways for someone to book an appointment with you.
Adding Photos:
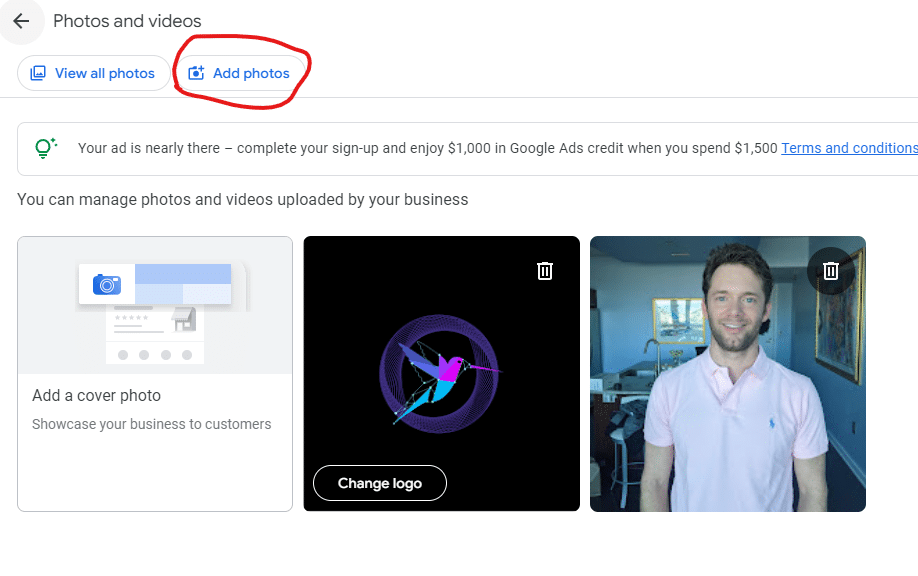
Adding photos is a very important aspect of optimizing your profile. People are visual and want to see pictures of your business in action. We’ll add a photo to demonstrate how to add photos on your Google My Business profile:
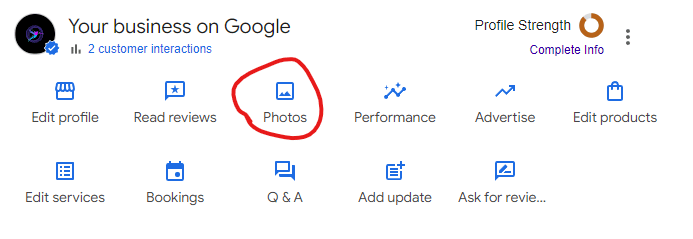
Once “photos” is selected, you just add the photo you want to add to your profile!
Frequently Asked Questions (Q & A)
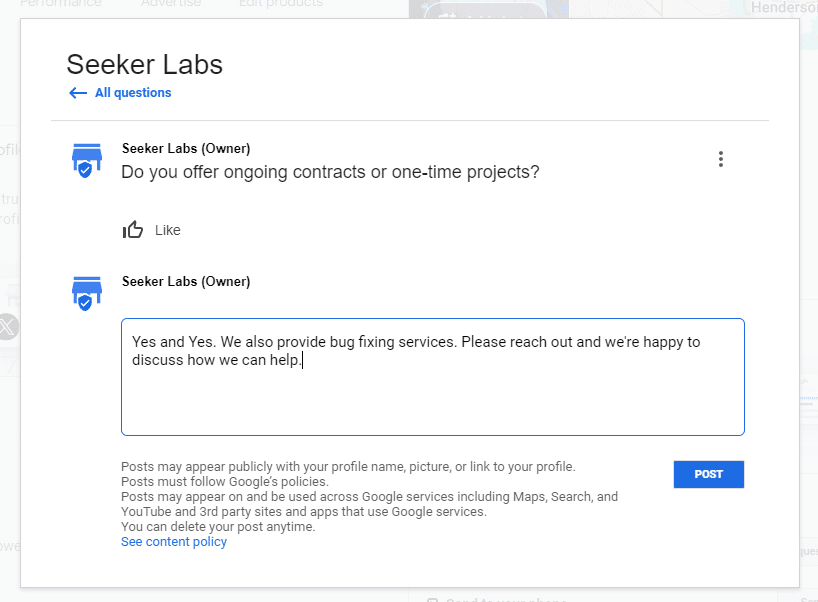
You’ll also want to think about any “frequently asked questions” and answer them on your profile. Do that by clicking the “Q & A” button, and ask your question, which you can then answer:
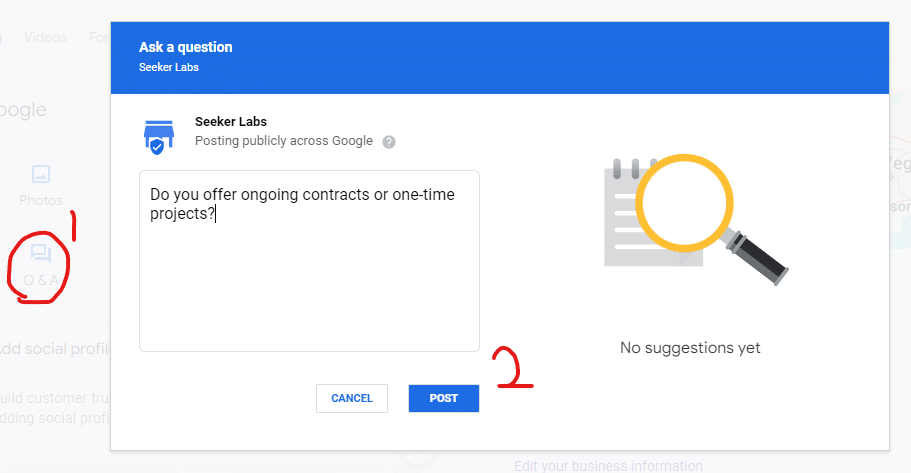
You can either ask the question yourself, or wait for someone else to ask the question. It does show who asked and answered, so it may be more natural looking to wait. The choice is yours. You COULD have your friends ask the questions so you’re not answering your own questions.
Adding More Users & Managers:
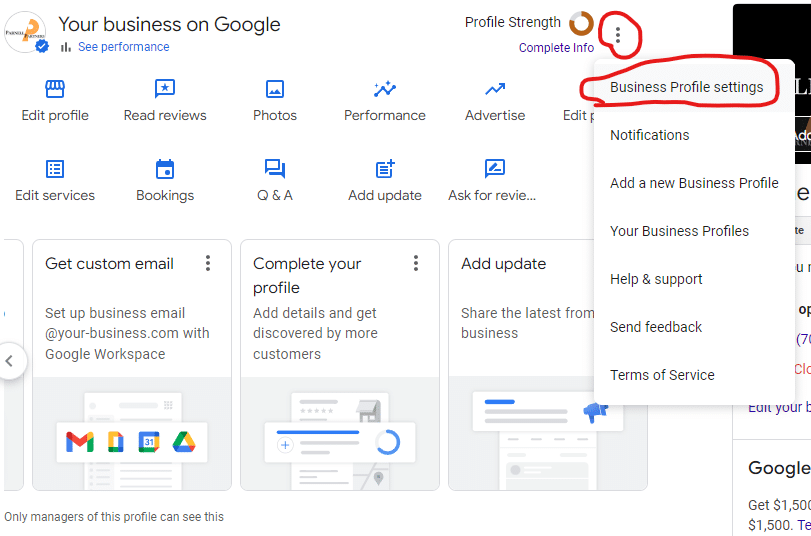
There’s a couple ways to add another “manager” to be able to edit the Google Business profile. From the search page, you can click the three vertical dots, and then “Business Profile Settings”
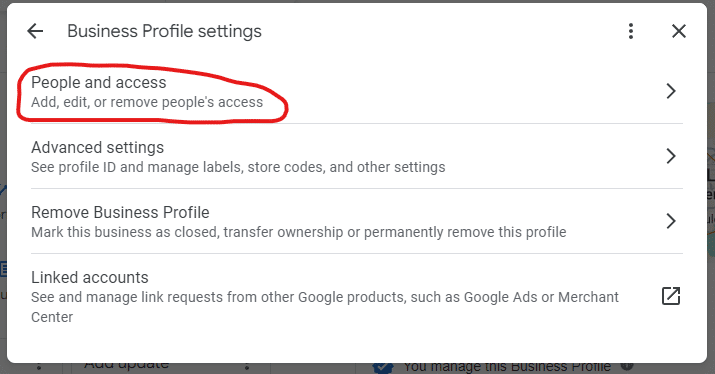
From there you can select “People and Access”:
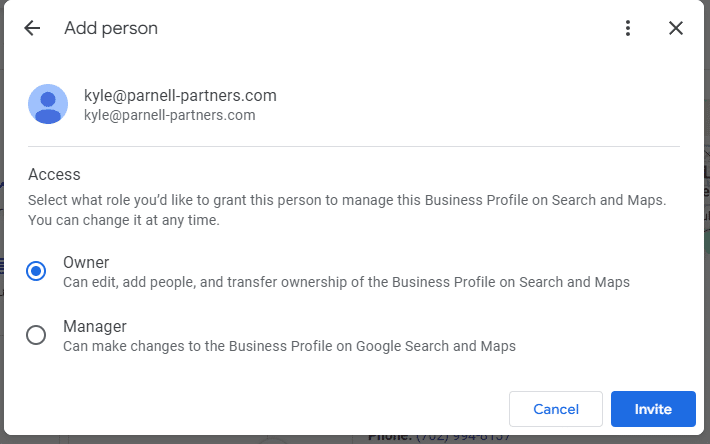
Click “Add” and then enter the email address of the person to add, and select the access level:
In some circumstances, such as if you’re an agency, you may have access to a more comprehensive admin area, where you can manage ‘groups’. To get there you can try this series of steps:

Once in the “Group Settings”, you can invite the user with the following steps:
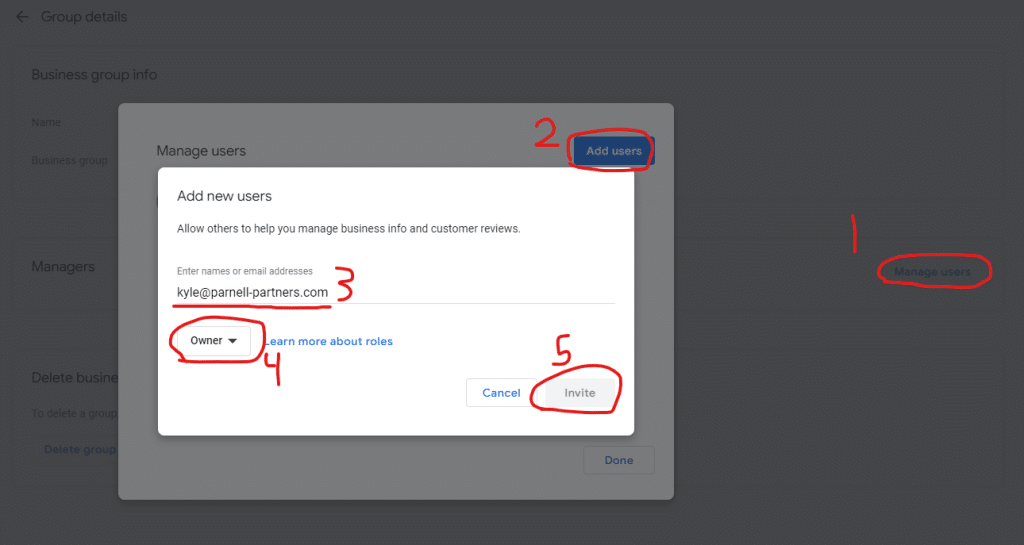
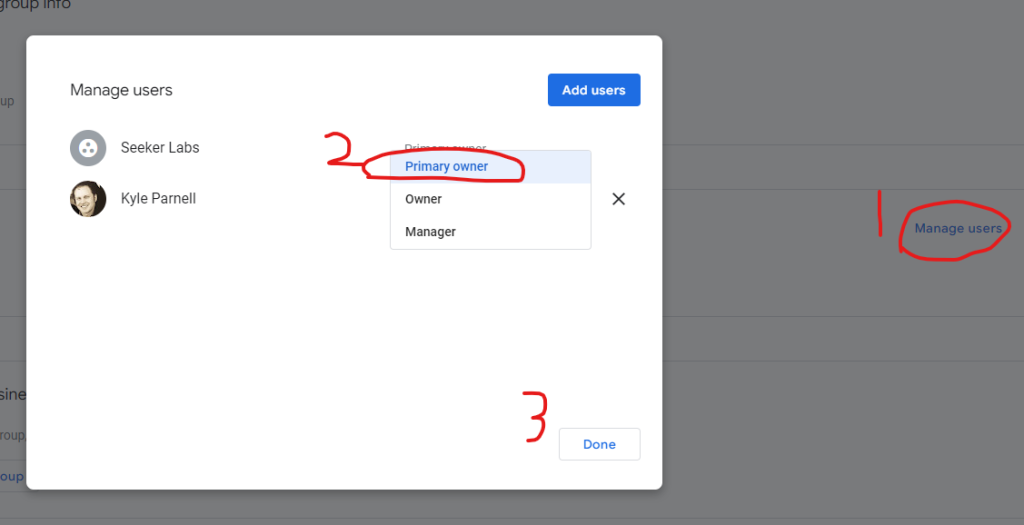
If you’re setting up a Google Business Profile for someone else, the ethical thing to do is make them the primary owner just in case you get hit by a bus or get fired. Once they’ve accepted the invite, you can do that with the steps below:
User Management (Coming Soon)
There is a “Manage Users” feature in the “agency” section of the profile manager, which you can see under “step 3” in the below image:

Unfortunately, it doesn’t make a whole lot of sense. I’ve tried inviting my personal email, and get an error saying I have to remove any locations owned by my account before accepting the invitation, which seems like a bug, or a really dumb restriction. We’re still experimenting with how that works, and we’ll update this post when we figure that out.
In the meantime, your profile should be 100% set up at this point. From here, you’ll want to begin optimizing your profile by getting reviews, responding to them, and getting on a regular “Google Business Profile” content posting schedule. We’ll show you how to do that in future tutorials.

